Sharp Lines, Bold Presence: How to Make a Drag King Suit Jacket from Scratch
Overview: Build the Jacket, Build the Persona
A well-fitted suit jacket is one of the most powerful tools in a drag king’s wardrobe. It creates structure, sharpens silhouettes, and transforms posture and stage presence. This tutorial walks you through constructing a custom suit jacket from scratch, designed specifically for drag performance.
This guide is ideal for intermediate beginners with basic sewing experience who are ready to take on a structured garment. Even if you’ve never made a jacket before, the process is broken into manageable steps.
By the end, you’ll have a wearable jacket tailored to reshape the body for a masculine silhouette, along with foundational skills in pattern use, garment structure, and customization.
Helpful Links
Materials: What You’ll Need
Fabric & Structure
2–3 yards outer fabric (wool, suiting, or heavy cotton)
2 yards lining fabric (polyester or satin)
1–2 yards fusible interfacing (medium–heavy weight)
Shoulder pads (optional but recommended)
Tools
Sewing machine
Hand sewing needles
Fabric scissors
Pins or clips
Measuring tape
Tailor’s chalk or fabric marker
Iron and ironing board
Pattern & Extras
Suit jacket pattern
Buttons (2–4)
Matching thread
Step 1: Choose and Prepare Your Pattern
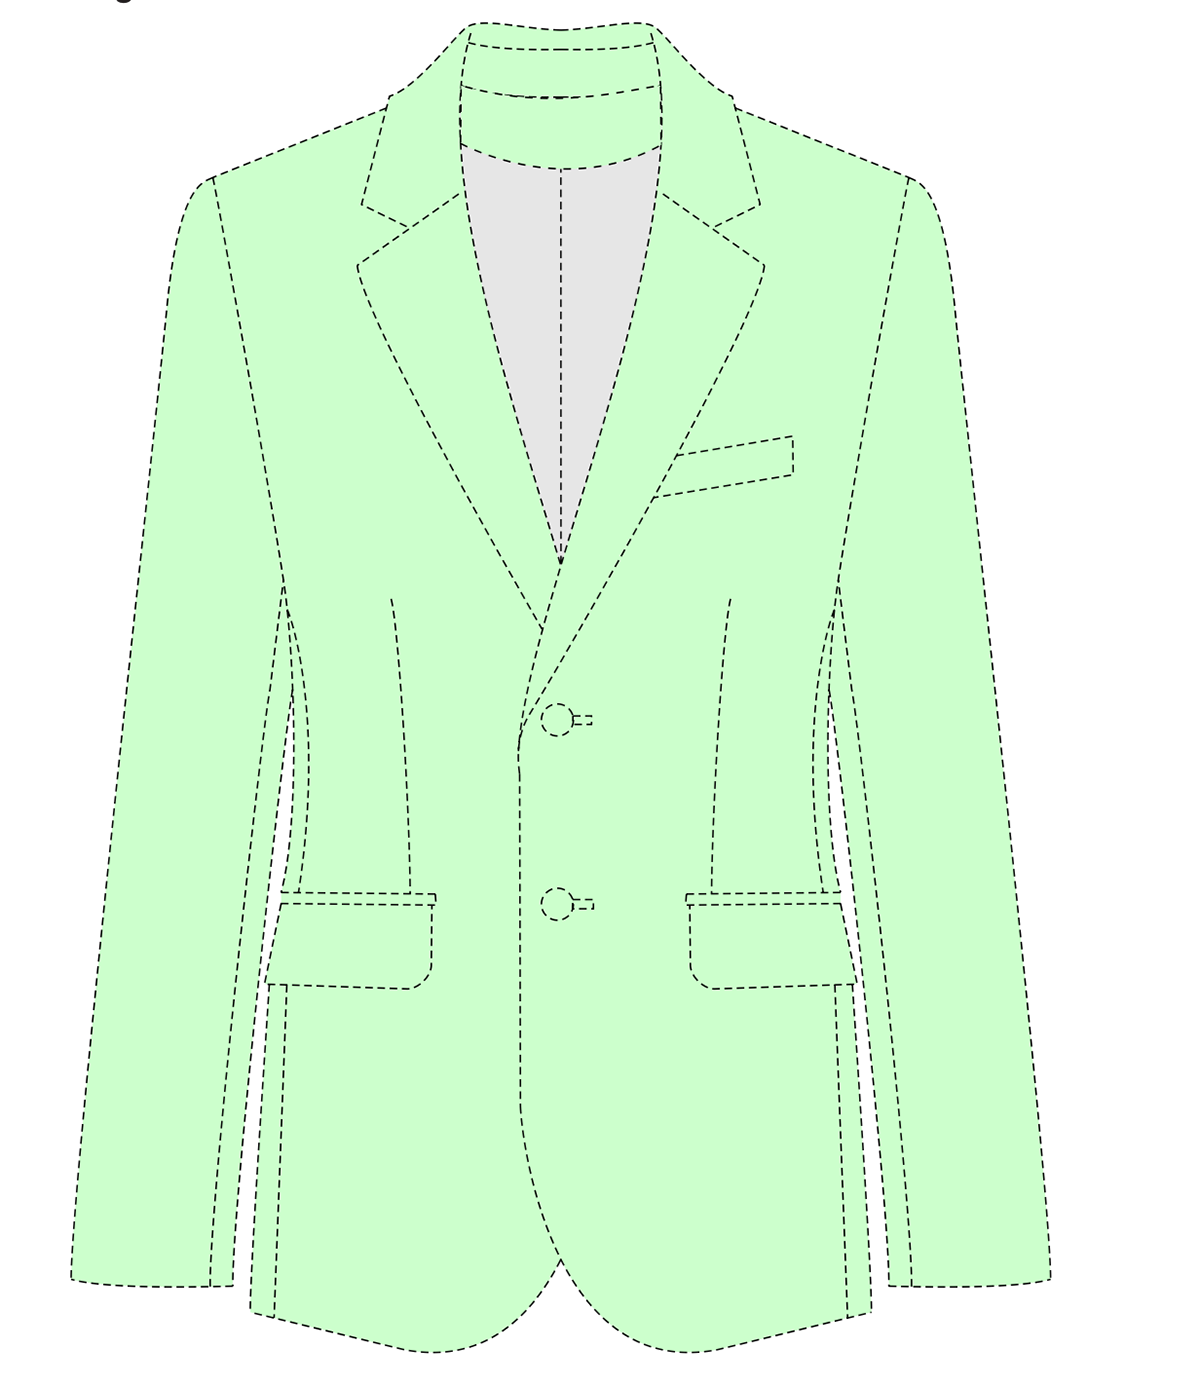
Select a jacket pattern that matches your vision. For drag, structured styles like boxy blazers or strong shoulders work best. Patterns labeled “blazer” or “tailored jacket” are good starting points.
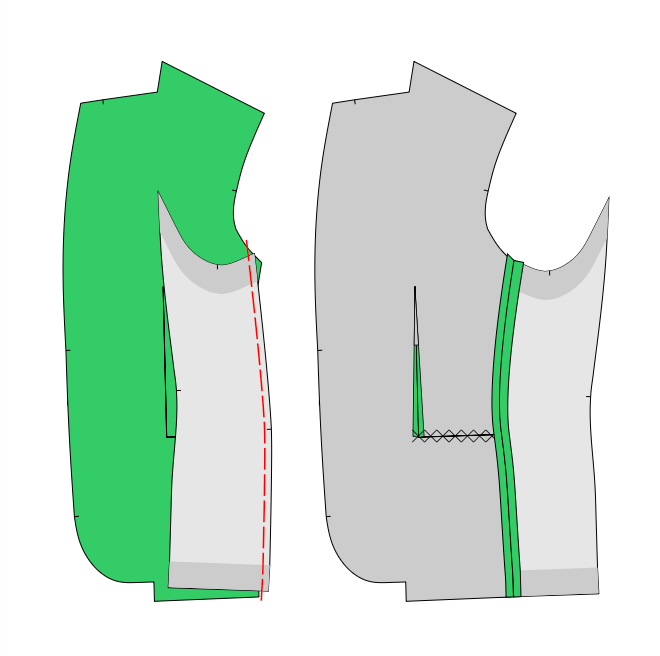
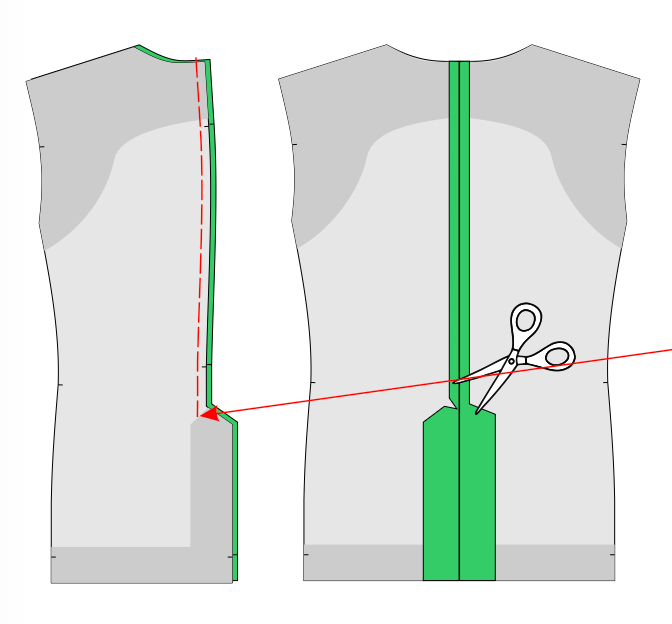
Cut pattern pieces carefully and note markings like notches and darts. For a more masculine silhouette, consider broadening shoulders, straightening side seams, or adjusting length.
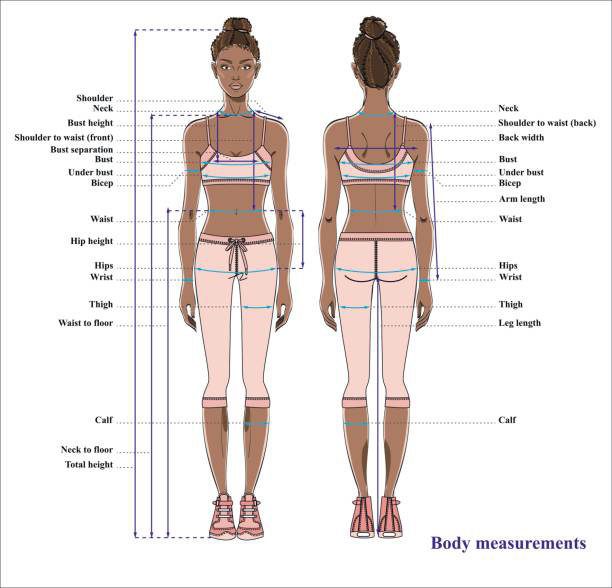
Step 2: Measure Yourself and Plan the Fit
Take accurate measurements: chest, waist, hips, shoulder width, and arm length.
For drag king styling, you can exaggerate proportions:
- Larger chest = boxier fit
- Wider shoulders = stronger presence
- Longer sleeves = stylized effect
Compare your measurements to the pattern chart and choose accordingly.
Step 3: Cut Your Fabric
Lay fabric flat, fold as directed, and pin pattern pieces securely. Cut carefully and transfer all markings.
Be sure to:
- Cut interfacing separately
- Mirror necessary pieces
- Label pieces to avoid confusion
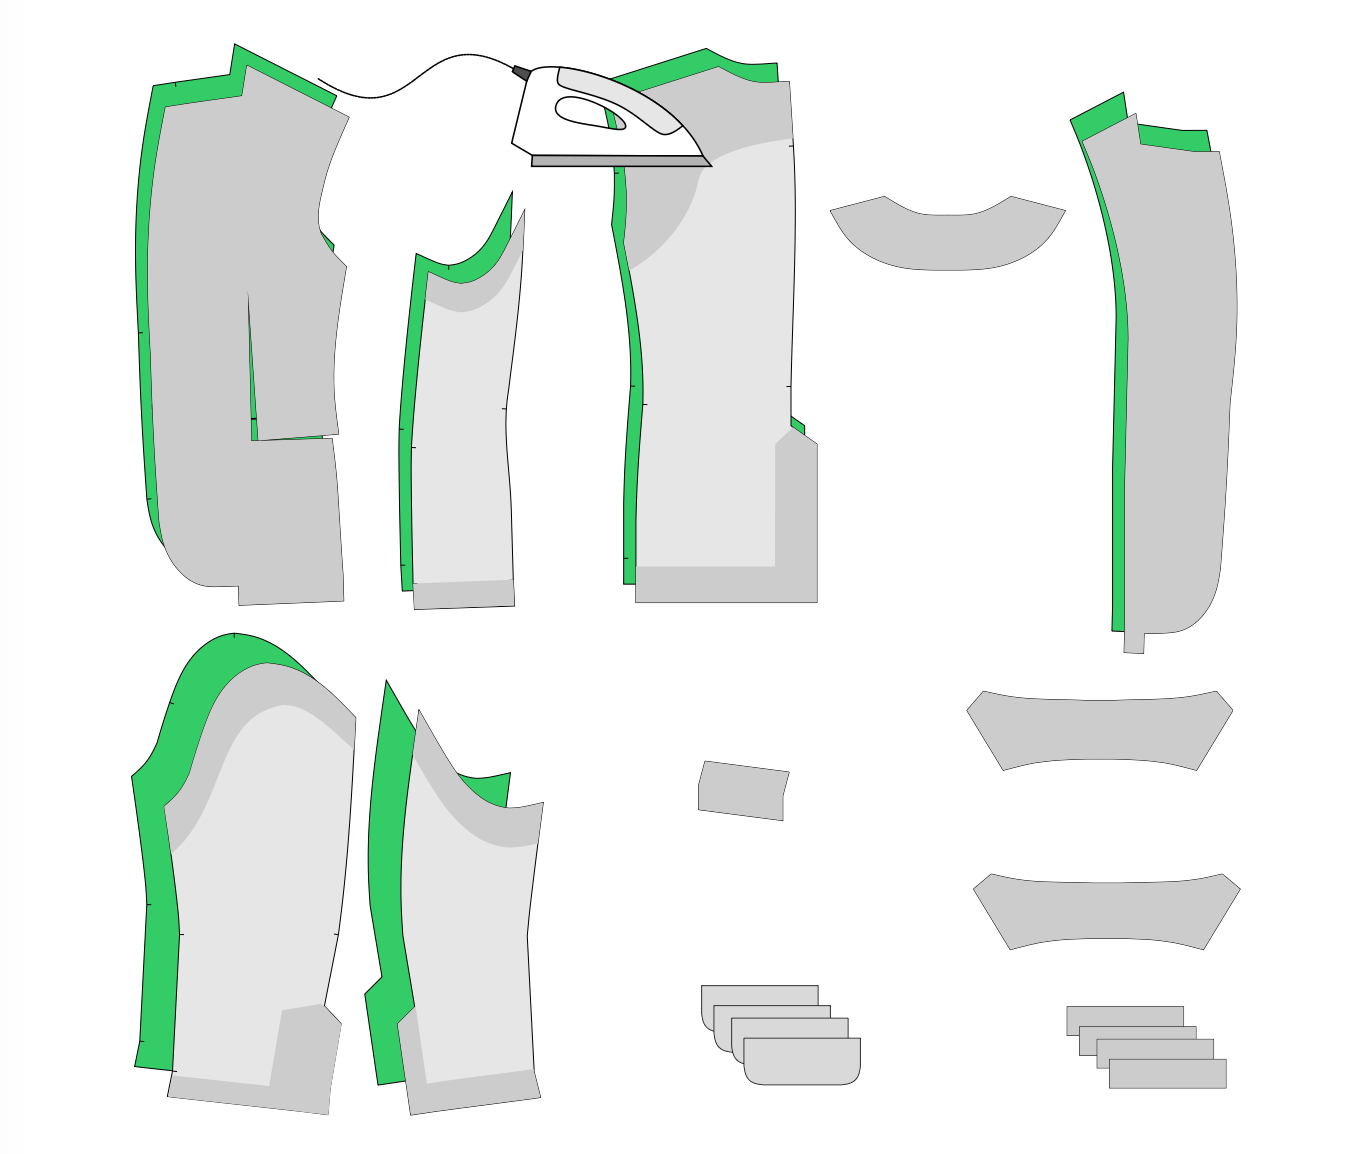
Step 4: Apply Interfacing
Interfacing gives the jacket its structure. Fuse it to the wrong side of key pieces like front panels, lapels, and collar using a hot iron (no steam). Press firmly—don’t slide.
This step is essential for a crisp, professional look.
Step 5: Assemble the Jacket Body
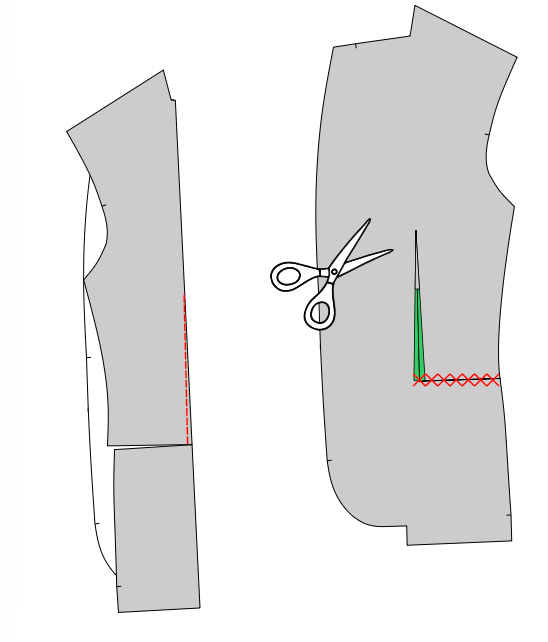
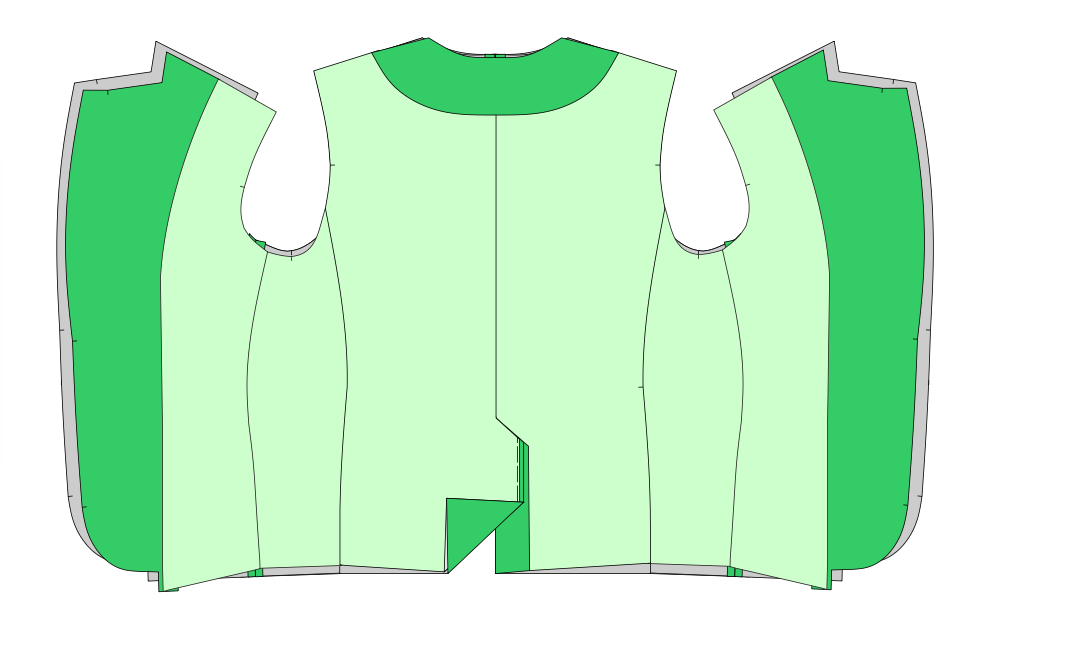
Sew front panels to the back at the shoulders, then sew side seams. Press all seams open immediately.
If your pattern includes darts, sew and press them flat.
Fit check: Try the jacket on inside out. Check shoulder alignment and back fit, adjusting seams as needed.
Step 6: Construct and Attach Sleeves
Sew each sleeve’s underarm seam and press.
To attach:
- Match sleeve and armhole notches
- Pin from the shoulder outward
- Ease fabric to prevent puckering
Work slowly and adjust as needed. Slightly fuller sleeves can enhance a stronger silhouette.
Step 7: Build the Collar and Lapels
Sew collar pieces, turn them right-side out, and attach to the neckline. Fold and press lapels along marked lines.
Precision matters—align edges carefully, clip curves, and press thoroughly for sharp results.
Step 8: Insert Shoulder Pads
Position shoulder pads inside the jacket at the shoulder seams. Try the jacket on and adjust placement before hand-sewing them in.
For a more theatrical look, layer the pads to exaggerate the shape.
Step 9: Add the Lining
Assemble the lining like the outer shell, leaving a small opening. Attach it to the jacket edges, then turn the jacket right-side out through the opening and close it.
Finish with a thorough press for a clean look.
Step 10: Final Details
Mark and sew buttons, then create buttonholes (test first on scrap fabric).
Optional additions:
- Topstitching
- Chains, patches, or embroidery
- Hem adjustments
Conclusion: Own the Look
Making a drag king suit jacket is more than sewing—it’s character creation. Every decision, from fabric to fit, shapes how your persona is perceived on stage.
As you improve, experiment with bold fabrics, embellishments, and altered silhouettes. Don’t worry if your first attempt isn’t perfect—tailoring gets better with practice.
Step into your jacket, square your shoulders, and take up space—you made that.